Tips and tricks for laying tiles in your bathroom
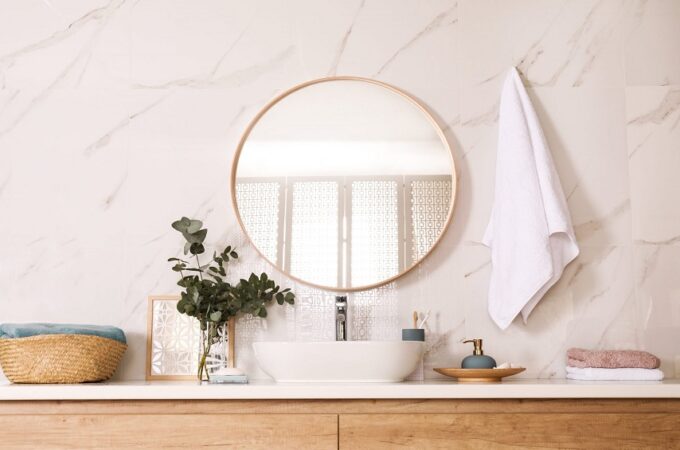
Tile is the most suitable flooring for a bathroom. Resistant to humidity, it is easy to maintain and will add a note of aesthetics to your interior. But its main advantage is that it adapts to both walls and floors, and its implementation does not require major work.
With suitable equipment and a few notions of DIY, it is even very easy to tile your own pond . Want to get started, but don’t know where to start? Here is our guide.
Preparing the substrate for laying the bathroom tiles
To ensure good adhesion of the tiles to the walls or floor of your bathroom, you will need to take a few precautions and prepare the substrate well. The latter must be clean, very smooth, flat and above all dry. Apply brush strokes to dust off the sinuosities, especially at the corners.
Regarding old surfaces, you will have to sand or degrease them ; likewise, any residue of paint or wallpaper must be removed. The adhesion of old coatings should also be checked. To do this, apply light hammer blows to the support. In this way, the faulty tiles will come off easily and you can remedy any cracks or surface irregularities.bathroom tile laying
Another important point is to check that there is no moisture or leak problem. If you experience water infiltration, you will need to call a professional or repair the leak by plugging it . Otherwise, your coating may blister or not hold permanently.
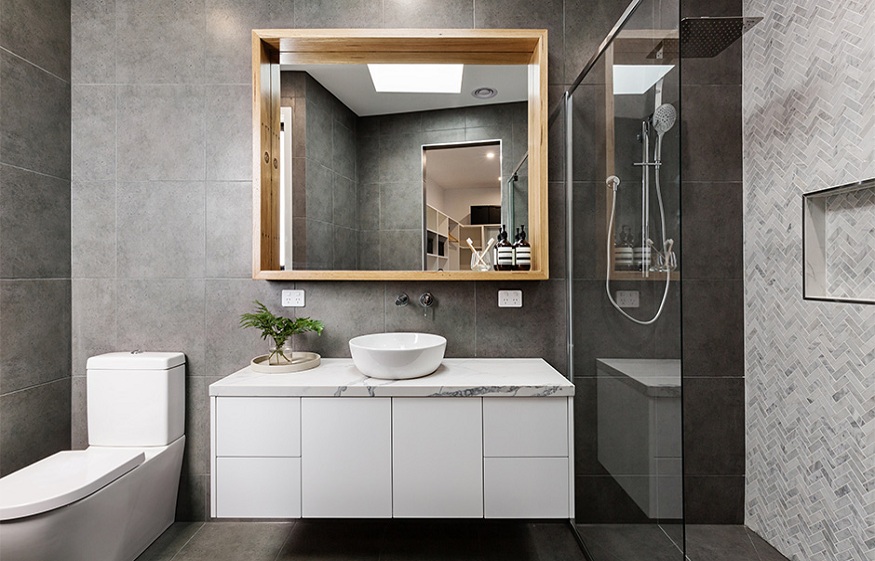
Tiling bathroom walls and floors
Laying your bathroom tiles is the best solution for doing work at home on the cheap . The technique is quite easy and only requires some attention to detail. To start, you will need to draw a guide line, from which you will start your pose.
To do this, use a level and draw a straight line. Then, mix your adhesive mortar which will be used to adhere the pieces of tiling to the support. Be sure to respect the dosage indicated in the instructions for use, otherwise the degree of adhesion may be altered. Once these steps have been completed, here is what you will need to do:
Apply the adhesive mortar on part of the surface, you must start with small areas and not on the entire support;
Apply a stroke of the glue comb to even out the layer of glue and integrate it into the small cracks;
Apply a small layer of adhesive mortar on the back of the first tile then lay the latter on the support;
Press down firmly on the tile to ensure good adhesion;
Position the second tile while trying to ensure that it is at the same level and use a spacer to leave a joint space of approximately 2 mm;
Proceed in the same way for the rest of the tiles.
Once the entire surface of your bathroom has been covered, clean off the excess mortar glue with water and let it dry for a day .
Installation of bathroom tile joints
The last step in laying bathroom tiles is grouting. Indeed, it is inconceivable to leave tiles without joints. Not only is this unsightly, but it also increases the risk of damage.
The procedure is easy. It will be necessary to prepare a mixture of glue-joint then apply it to the tiled surface while ensuring that all the interstices are well covered. Then, using a spatula, all the excess will be removed. To remove the remaining white traces, it will suffice to coat the surface one last time with a special product